


⇓

|
|
|
|
⇓ |
|
|---|
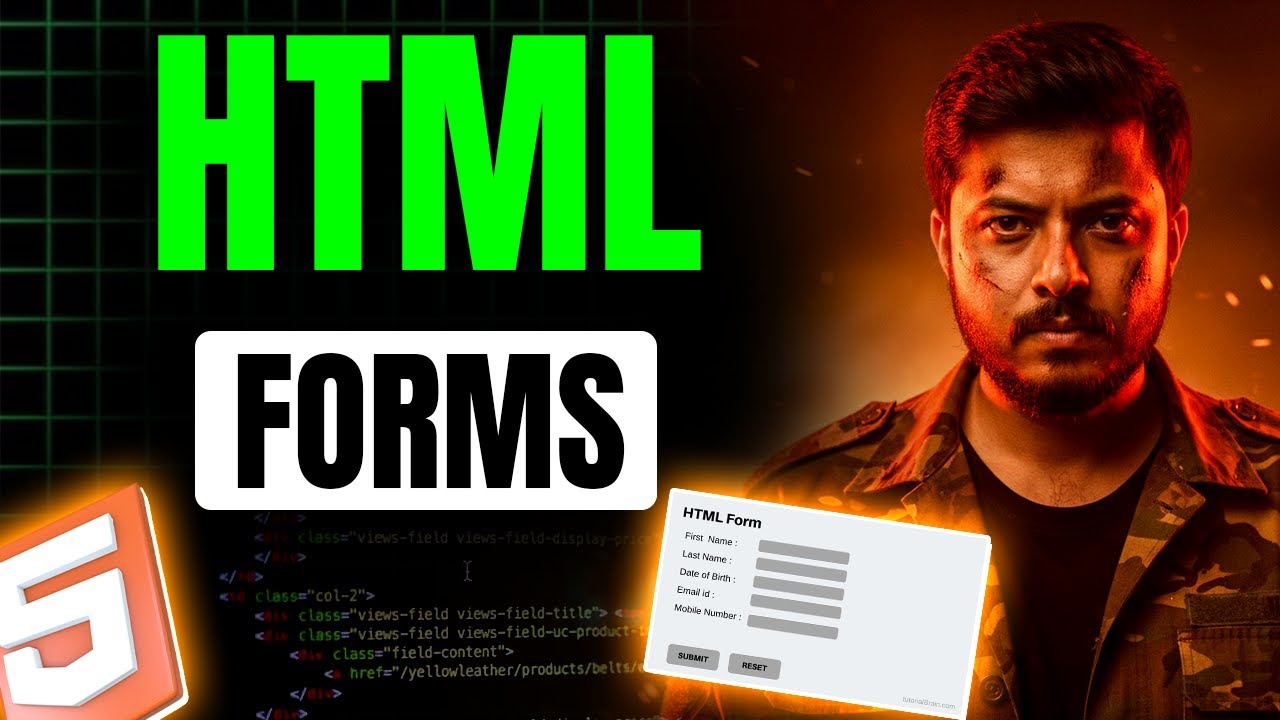
Websites are not just for displaying content; they are interactive. A fundamental need is to collect information from the user. This is used everywhere, from complex job applications to the simple login and signup pages you use daily.
The "Why": How can we create a structured way for users to enter their data (like name, email, and password) and send it to our server to be stored in a database?
The Solution: The <form> element. This tag acts as a
container for all the different input fields that make up a form.
The Problem: An input box by itself is meaningless. How does a user know what information to enter? Furthermore, how do we ensure the text label is functionally linked to its input box for better accessibility and usability?
The Solution: We use the <input type="text"> for the entry
field and a <label> tag to describe it. We link them by giving the input a
unique id and matching it with the label's for
attribute. Now, clicking the label will focus on the input field.
Code:
<label for="username">Username:</label>
<input type="text" id="username" name="username" placeholder="Enter your username">
Example:
The Problem: When a form is submitted, the server receives a list of values (e.g., "Rohit", "28"). How does the server know which value corresponds to which field, especially if some fields are left blank?
The Solution: Every input must have a name attribute. This acts
as a key for the data. The browser sends the information as name-value pairs (e.g.,
username=Rohit), allowing the server to understand and correctly store the data.
Problem: How to ensure a user enters only numbers?
Solution: Use <input type="number">. This provides
validation and stepper arrows.
Code:
<label for="age">Age:</label>
<input type="number" id="age" name="user_age" placeholder="e.g., 28">
Example:
Problem: How to hide sensitive information as a user types it?
Solution: Use <input type="password">, which masks the input
characters.
Code:
<label for="pass">Password:</label>
<input type="password" id="pass" name="user_pass" placeholder="Enter your password">
Example:
Problem: How to let a user choose only one option from a group (e.g., gender)?
Solution: Use <input type="radio">. To group them, all radio
buttons in the group must have the same name attribute. The value
attribute is essential to define what data is sent to the server.
Code:
<p>Gender:</p>
<input type="radio" id="male" name="gender" value="male">
<label for="male">Male</label>
<br>
<input type="radio" id="female" name="gender" value="female">
<label for="female">Female</label>
Example:
Problem: How to let a user select zero, one, or multiple options from a list?
Solution: Use <input type="checkbox">. Like radio buttons,
the value attribute is crucial for sending meaningful data.
Code:
<p>Select Subjects:</p>
<input type="checkbox" id="python" name="subject" value="python">
<label for="python">Python</label>
<br>
<input type="checkbox" id="javascript" name="subject" value="javascript">
<label for="javascript">JavaScript</label>
Example:
Problem: How to collect long-form, multi-line text like a comment or address?
Solution: Use the <textarea> element, which provides a
larger, resizable text box.
Code:
<label for="address">Mailing Address:</label>
<br>
<textarea id="address" name="user_address" rows="4" cols="30" placeholder="Enter your full address..."></textarea>
Example:
Problem: How to present a long list of options in a compact way?
Solution: Use the <select> element as a container, with each
choice defined by an <option> tag inside it. A disabled first option can
serve as a placeholder.
Code:
<label for="course">Select your course:</label>
<select name="course" id="course">
    <option value="" disabled selected>--Please choose an option--</option>
    <option value="cse">Computer Science</option>
    <option value="mech">Mechanical Engineering</option>
    <option value="civil">Civil Engineering</option>
</select>
Example:
Problem: How does a user submit the form after filling it out, or clear all the fields?
Solution: Use the <button> tag with a specified
type.
type="submit": Submits the form data.type="reset": Clears all form fields to their initial values.Code:
<button type="submit">Register</button>
<button type="reset">Clear Form</button>
Example:
Problem: How to provide a hint or an example of what to type directly inside an input field?
Solution: Use the placeholder attribute.
Code:
<label for="fname">First Name:</label>
<input type="text" id="fname" name="first_name" placeholder="e.g., Arjun">
Example:
Problem: How to prevent a user from submitting a form if a critical field is left empty?
Solution: Add the required attribute to the input tag. This
enables built-in browser validation.
Code:
<label for="req_email">Email:</label>
<input type="email" id="req_email" name="user_email" placeholder="you@example.com" required>
Example:
Sources: Internet. All copyrights © reserved #DarkProgrammer, Let's connect.